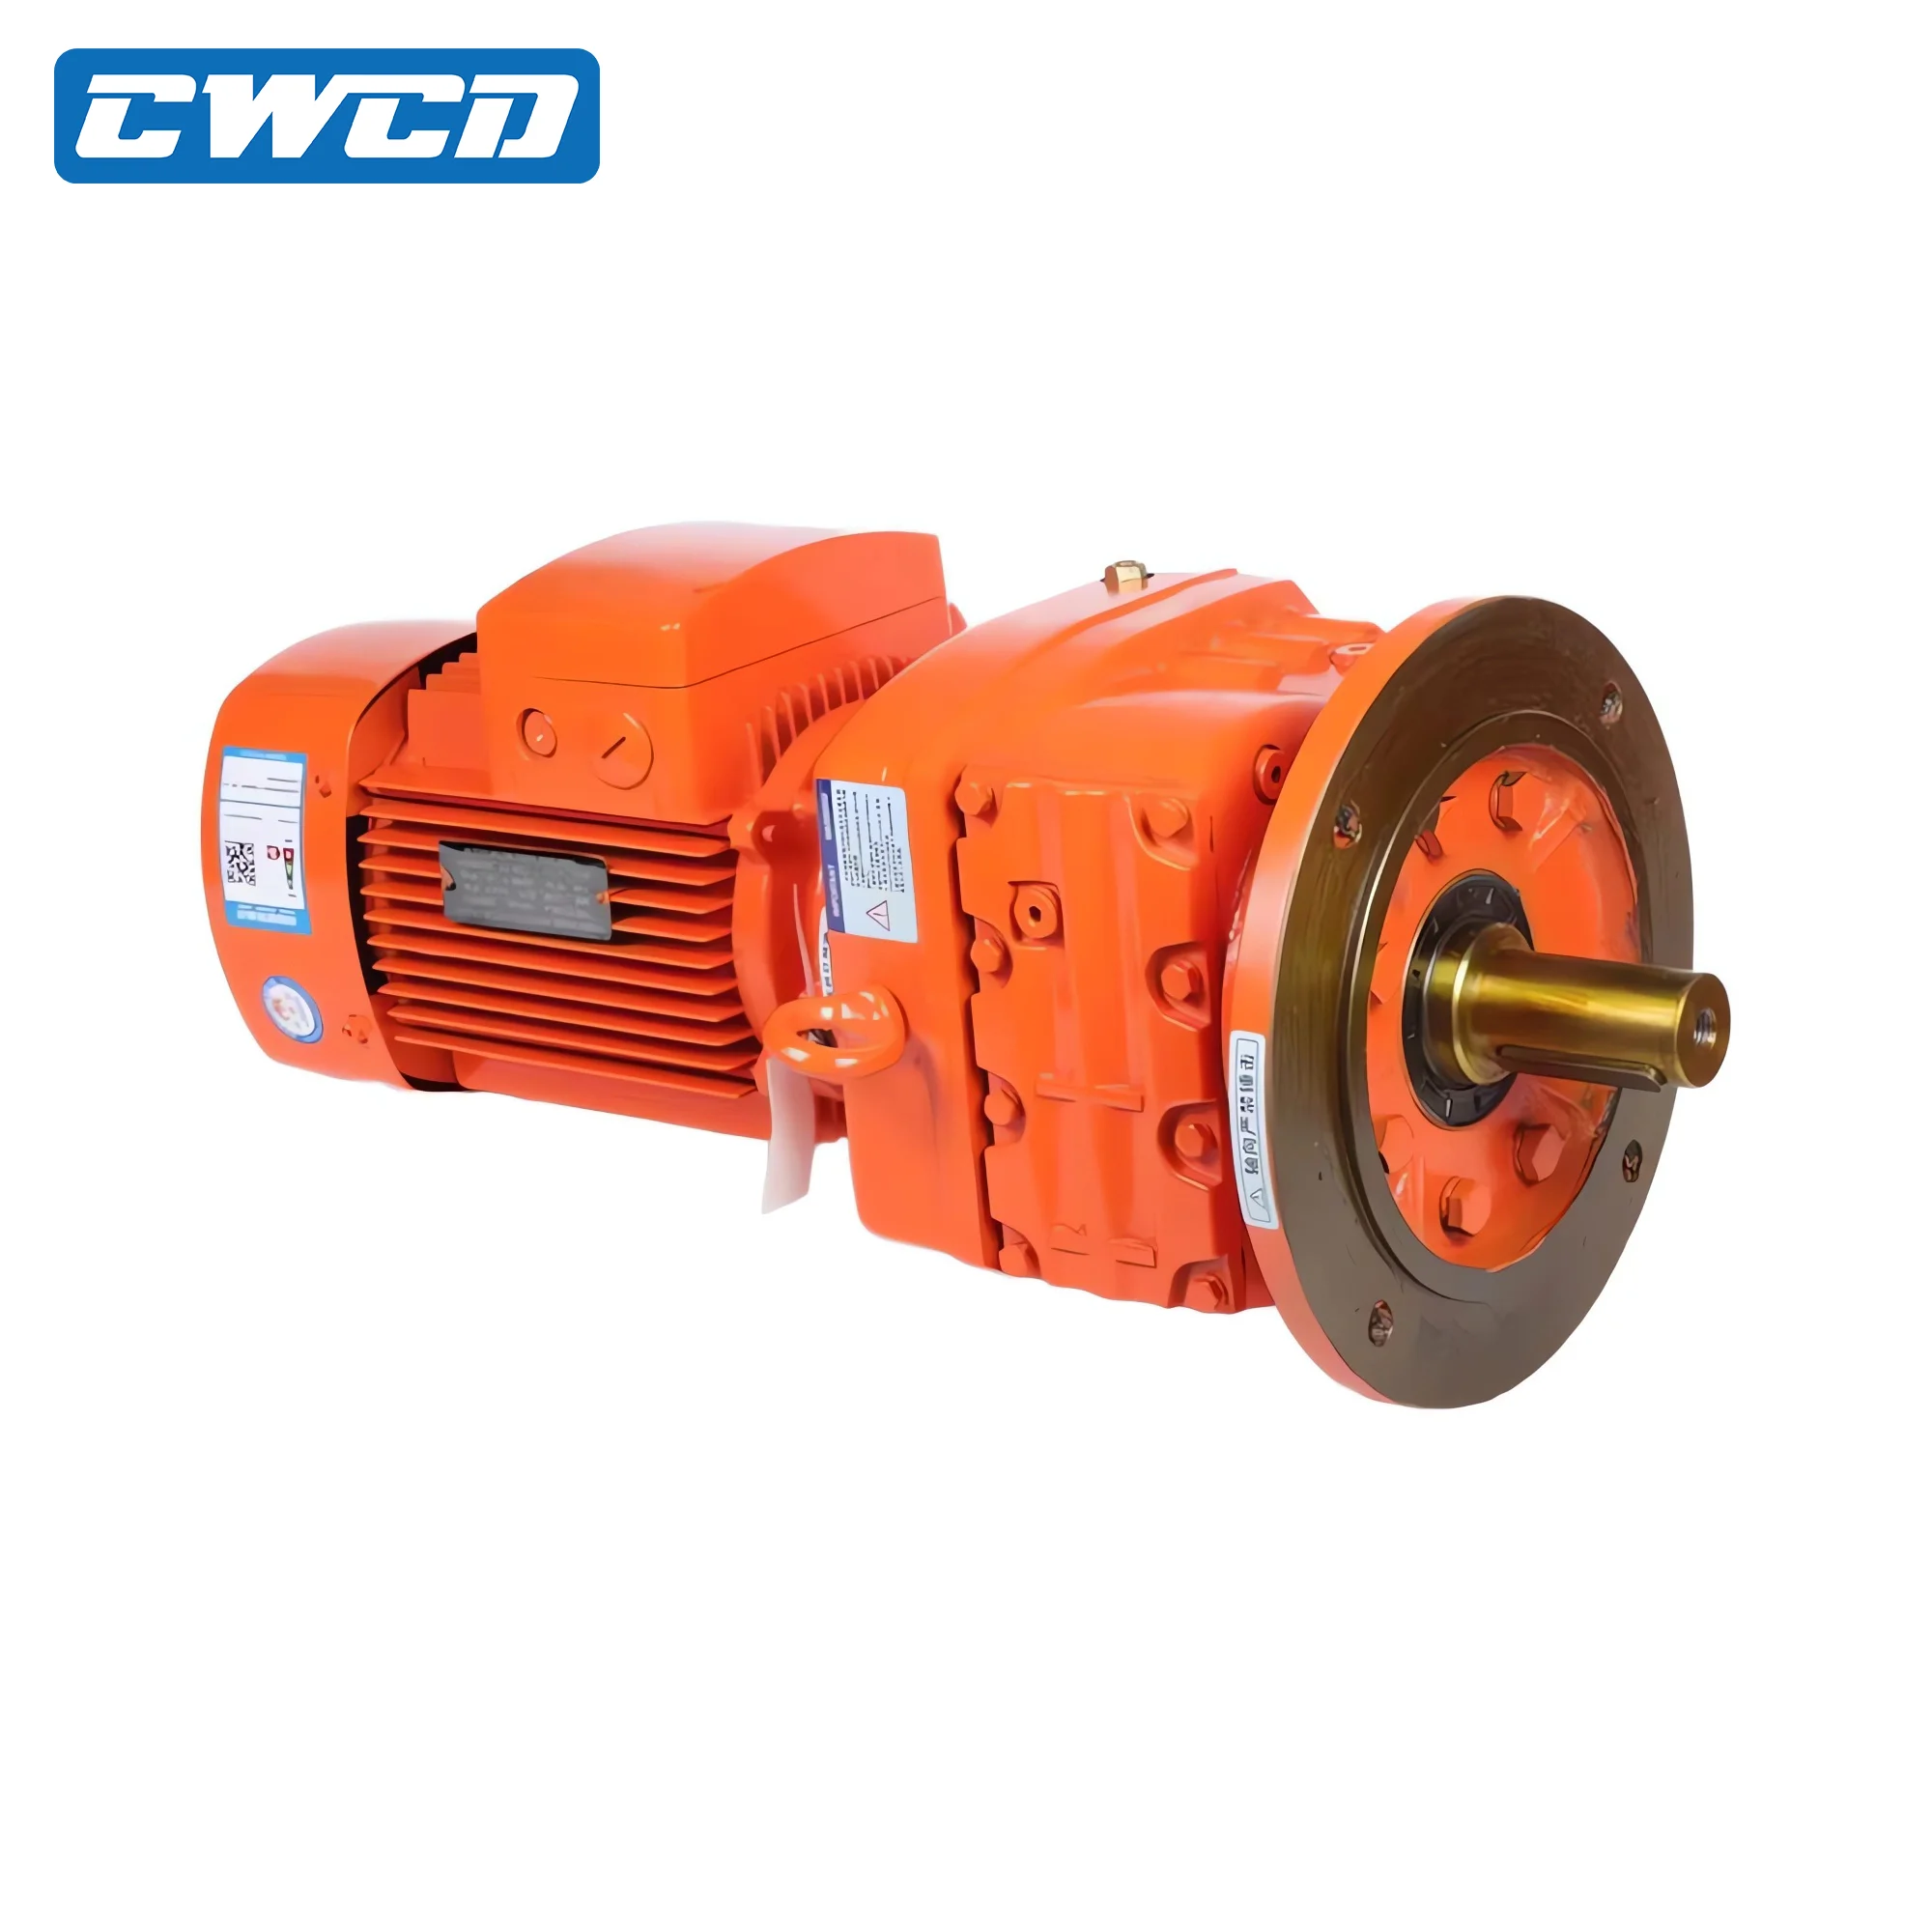
החלפת מנוע כוללת הסרה שיטתית של רכיבים משובשים או פגומים והתקנת חלקים חדשים כדי לשחזר את הביצועים. התהליך כולל демונטאז', בדיקה של רכיבים קריטיים כגון שבבים, סלילים וחוטמים, התקנה מדויקת של החלפים, ובדיקות לאחר ההרכבה. החלפה מבוצעת היטב משחזרת יעילות, מפחיתה את צריכה האנרגיה ומאריכה את מחזור החיים של הציוד.
כשדברים לא מותקנים נכון, ציוד נוטה להתקלקל מוקדם יותר מהצפוי, גורם ליותר זמן עמידה, ולפעמים אפילו יוצר סיכוני בטיחות. קחו כיסויים שאינם מיושרים כדוגמה אחת לבעיה נפוצה - לעתים קרובות הם מחממים מדי, מה שיכול לקצץ את אורך חיי המנוע כמעט לחצי, על פי מחקר מסוים של פונימן משנת 2023. במבט על נתונים מהשטח בתעשיית הייצור, בערך שליש מכל תקלות המנועים נובע למעשה מעבודת הרכבה ירודה. התקנה נכונה יוצרת הבדל גדול – היא עוזרת לשליטה בה rung, שומרת על העברת מומנט מתאימה, ומספקת את דרישות היצרן החשובות במיוחד במערכות קריטיות כמו תאי כוח ברכב חשמלי או יחידות HVAC בקנה מידה גדול במפעלים.
מחקרים מראים ש-72% מהמחלפות של מנועי מכשירים נכשלות תוך 18 חודשים עקב התקנת חיבורים לא נכונה. עקיבה אחר הוראות היצרן ושימוש בכלים מיוחדים—כגון מפתח טורק או קיט יישור לייזר—מבטיחה עמידות בישומים אלו.
כדי להתקין דברים כראוי מתחילים עם ציוד נכון. מפתח עיקול איכותי מדויק בתוך + או מינוס 2% יחד עם ערכות סוקיטים המיועדות לעבודות פגיעה מסייעות להבטיח שהבולים מופקים בדיוק כפי שהמפיק ממליץ. גם המספרים לא משקרים - נתונים חדשים ממוסד השמן של המכונות מצביעים על כך שכ-2/3 מהכשלונות המוטוריים המוקדמים מתרחשים בגלל שמישהו לא השיג את החברים הנכונים. כאשר עובדים במיוחד עם מנועים שנמצאים בקרונות גולף או מכשירים ביתיים, משתלם להוסיף גם תרכובת נגד התקף. ואל תשכחו את הדבק לנעול חוט שיכול להתמודד עם טמפרטורות של מעל 300 מעלות פאראנז'יט, מכיוון שהרכיבים האלה נוטים להתחמם מאוד במהלך תפעול רגיל.
ארגון שיטתי מפחית טעויות בהרכבה מחדש ב-47% (מכון פונימן, 2022). השתמשו במיכלים צבעוניים או שקיות זיפלוק עם מספרים יחד עם תמונות מהטלפון החכם כדי לעקוב אחר הרכיבים. בעת עבודה על ראש צילינדרים או מערכת שסתומים, תייגו משאבות הידראליות וזרועות דחיפה לפי סדר. במנועים אוטומobiliים, סמנו את קושרו של שרשרת הזמנים בצבע כדי לשמור על שלמות הפאזות במהלך ההתקנה מחדש.
הקפדה על مواصفות היצרן המקורי (OEM) היא מאוד חשובה כדי להבטיח שחלקי חילוף יתאימו באמת למה שכבר קיים במנוע. קחו לדוגמה כיסויי יריעת הציר הקמאתי – הם בדרך כלל צריכים להותקן בסדר מסוים ולהידק בסיבוב של כ-18 עד 22 רגל-פאונד, בהתאם למודל הספציפי עליו מדובר. התבוננות בתרשימי פיצול עוזרת להימנע מטעויות בהתקנת איטמים או חוטמים שגויים, במיוחד באזורים שבהם יש התבלה מהירה כמו חריצי טבעות הפיסטון. ואל תשכחו לבדוק גם את מידות מתיחת הברגים. היצרנים מעדכנים את הפרסומים הטכניים שלהם כל שלושה חודשים בערך, ולכן שווה לבדוק שוב את הפרטים האלה לפני ההרכבה הסופית. השקעת זמן נוסף בווידוא המדויק של المواصفות יכולה לחסוך שעות של כאב ראש בהמשך.
טיפול נכון במהלך ההרכבה משפר את תוחלת החיים של המנוע ב-31% לעומת שיטות לא מאורגנות, לפי מחקר משנת 2023 על 1,200 מנועי דיזל.
התחל לארגן את הרכיבים באמצעות מנות מסומנות או מגנטיים. התקנת טבעות הפיסטון תחילה, פערים מפרידים 120° אחד מהשני על פי תקני SAE הבינלאומיים (2023) כדי להבטיח כיסוי סחיטה יעיל. עקוב אחר רצפי עיקול של היצרן עם מפתח גודל מסויםחיבור לא נכון אחראי ל-38% מהכישלונות המנועים המוקדמים (שירות תחזוקה עולמי 2022).
סימני זמן מסודרים על ציר הקנקס וגלגלי ציר המקלות לפני שהשרשרת מאובטחת. ליישם שומן הרכבה הקלה ללקות קם כדי למנוע התחלות יבשות, שיטה שהוכיחה להאריך את חיי הרכבת של השסתום ב 15 20%. עבור מנועי הפרעה, סובב את עמוד הקריכה ביד פעמיים לאחר ההתקנה כדי לאשר שאין מגע בין הפיסטן למספק.
השתמשו בפלסטיגיוג' לבדיקת ריווחי שסתומים, עם מטרה של 0.0015"–0.0025" ברוב היישומים. בעת התקנת ראש הצילינדר, ארכו את הברגים בשלושה שלבים הדרגתיים תוך שימוש בתבנית ספירלית. שפשפו את המוטות והזרועות בשמן עשיר בזינק כדי להגן מפני שחיקה ראשונית.
התקינו רכיבים משניים כגון אלטרנטורים ומשאבות באמצעות כלים לייזר ליצירת יישור מדויק – אי-יישור גורם ל-73% מהכשלים הקשורים לרעידה. בדקו מעגלים חשמליים בעזרת רב-מודד כדי לוודא שהתנגדויות עומדות בדרישות היצרן. השלימו רשימת בדיקה להחלפת מנוע לפני ההפעלה, על מנת לאשר את שלמות מערכות הדלק, הקירור והשמן.
התחלו בבדיקת רכיבים מכניים למציאת סימנים של תקלות, כמו דליפות נוזלים, rung לא מזוהה או חלקים שנראים לא מיושרים. כשמדובר במערכות חשמל, השתמשו במבחני רציפות ובמולטימטרים כדי לוודא שכל החיבורים יציבים. ידוע לכם שטעויות בחיווט גורמות לכ-38% מבעיות המנועים ברכב, לפי דוח פונימן משנת 2023? אל תשכחו לבדוק שוב את مواصفות המומנט של ברגים חשובים, כולל ברגי ראש הצילינדר והחיזוקים של הגלגל המעופף. במנועים קטנים ומכשירי בית, הקדישו רגע לבדיקה עד כמה חגורי ההנעה אטומים וככל שהแบรגים מסתובבים בחופשיות ללא התנגדות. בהתאם להמלצות הרוב של>manuals תעשייתיים, אף אחד לא רוצה לדלג על בדיקת תכונות העצירה החירוםית ומפסקים לבטיחות לפני הפעלה מלאה. מעבר מהיר על שלבים אלו יכול לחסוך כאבי ראש בהמשך.
בדקו את יישור שרשראות התזמון או רצועות התזמון יחד עם מיקום גלי הזיזים, עדיף לעשות זאת בעזרת הדיאגרמות במדריך השירות. בעת עבודה על מנועי עגלות גולף או מכלולי מנוע של מכשירי חשמל ביתיים, בדקו היטב עד כמה מברשות הקומוטטור יושבות היטב ומדדו את משחק הקצה של הארמטורה בטווחים מקובלים סביב 0.003 עד 0.005 אינץ'. יש לבדוק לחץ על מערכות נוזל קירור מעבר למפרטים הרגילים, תוך שאיפה לכ-15 עד 20 פאונד לאינץ' מרובע מעל לפעולה רגילה. אל תשכחו לבדוק שוב גם את החיישנים הללו, במיוחד כאלה שעוקבים אחר מיקום גל הארכובה וקריאות לחץ השמן. המספרים מגבים זאת: מערכות מכניות שעוקבות אחר הליכי אימות נכונים מקצרות את זמן ההשבתה לאחר ההתקנה בכשני שלישים, כפי שנמצא במחקרי הנדסה אחרונים.
ממש זרימת עבודה סטנדרטית לאימות:
| נקודת בדיקה | כלים דרושים | סף סובלנות |
|---|---|---|
| מומנט אום | מפתח תורק דיגיטלייigital | ±5% מהדרישה |
| התנגדות חשמלית | 멀טי-מטר | שונות ±0.2 |
| הסעת נוזלים | מד לחץ | סטיית קצב זרימה מקסימלית של 10% |
| ניתוח רעידות | טכומטר ליזר | ±0.005" אמפליטודה |
מסמכים ממצאים באמצעות תבניות שאושרו על ידי היצרן, עם דגש על בדיקות פונקציונליות על פני הערכות ויזואליות. גישה מרובת שכבות זו מבטיחה שחלקי חילוף של מנועים פועלים בתוך תחומי התכנון ביישומים אוטומotive, ימיים ומערכות קירור וחימום (HVAC).
תמידנית את מקורות החשמל לפני תחילת העבודה ודא על תאימות החלק. השתמש במפתח טורק כדי לעמוד בדרישות היצרן – ברגים שהוטחו בצורה חלשה אחראים לכ-23% מהכשלים המוקדמים של מנועים (דו"ח הנדסת מכונות 2023). סמן חלקים שנפרדו בעזרת סרט ציירים וצלם חיבורים וכבלים כדי לפשט את ההרכבה.
שגיאות נפוצות כוללות:
יש ללבוש משקפי 보טיחות דרוגים ANSI וכפפות עמידות לחום בעת טיפול ברכיבי מנוע. לאחר ההתקנה, יש לעקוב אחר פרוטוקול בדיקה בן שלושה שלבים:
החלפת מנוע כוללת הסרה של רכיבים פגומים או משוחלפים מתוך המנוע והתקנת חלקים חדשים כדי לשחזר את הביצועים והיעילות שלו.
התקנה נכונה היא קריטית מכיוון שהרכבה שגויה עלולה להוביל לתקלות מוקדמות, עלייה בזמן העצירה וסיכוני בטיחות פוטנציאליים.
כלים חיוניים כוללים מפתח טורקיות איכותי, סטים של כפפות, תערובת מנע הדבקה ואדייר חיזוק ניידת כדי להבטיח התקנה נכונה.
השתמשו במיכלים צבעוניים או שקיות זיפלוק עם מספור, יחד עם צילומי טלפון חכם, כדי לעקוב אחר הרכיבים במהלך ההסרה.
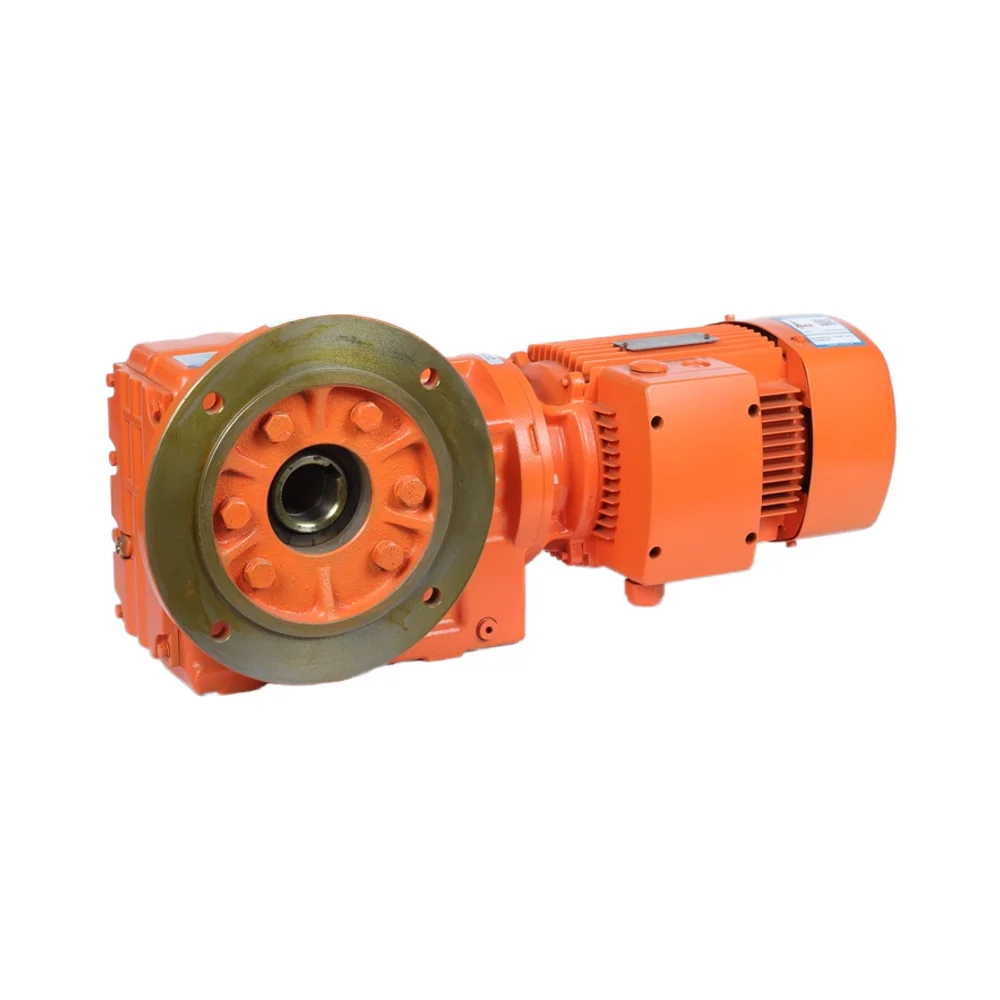
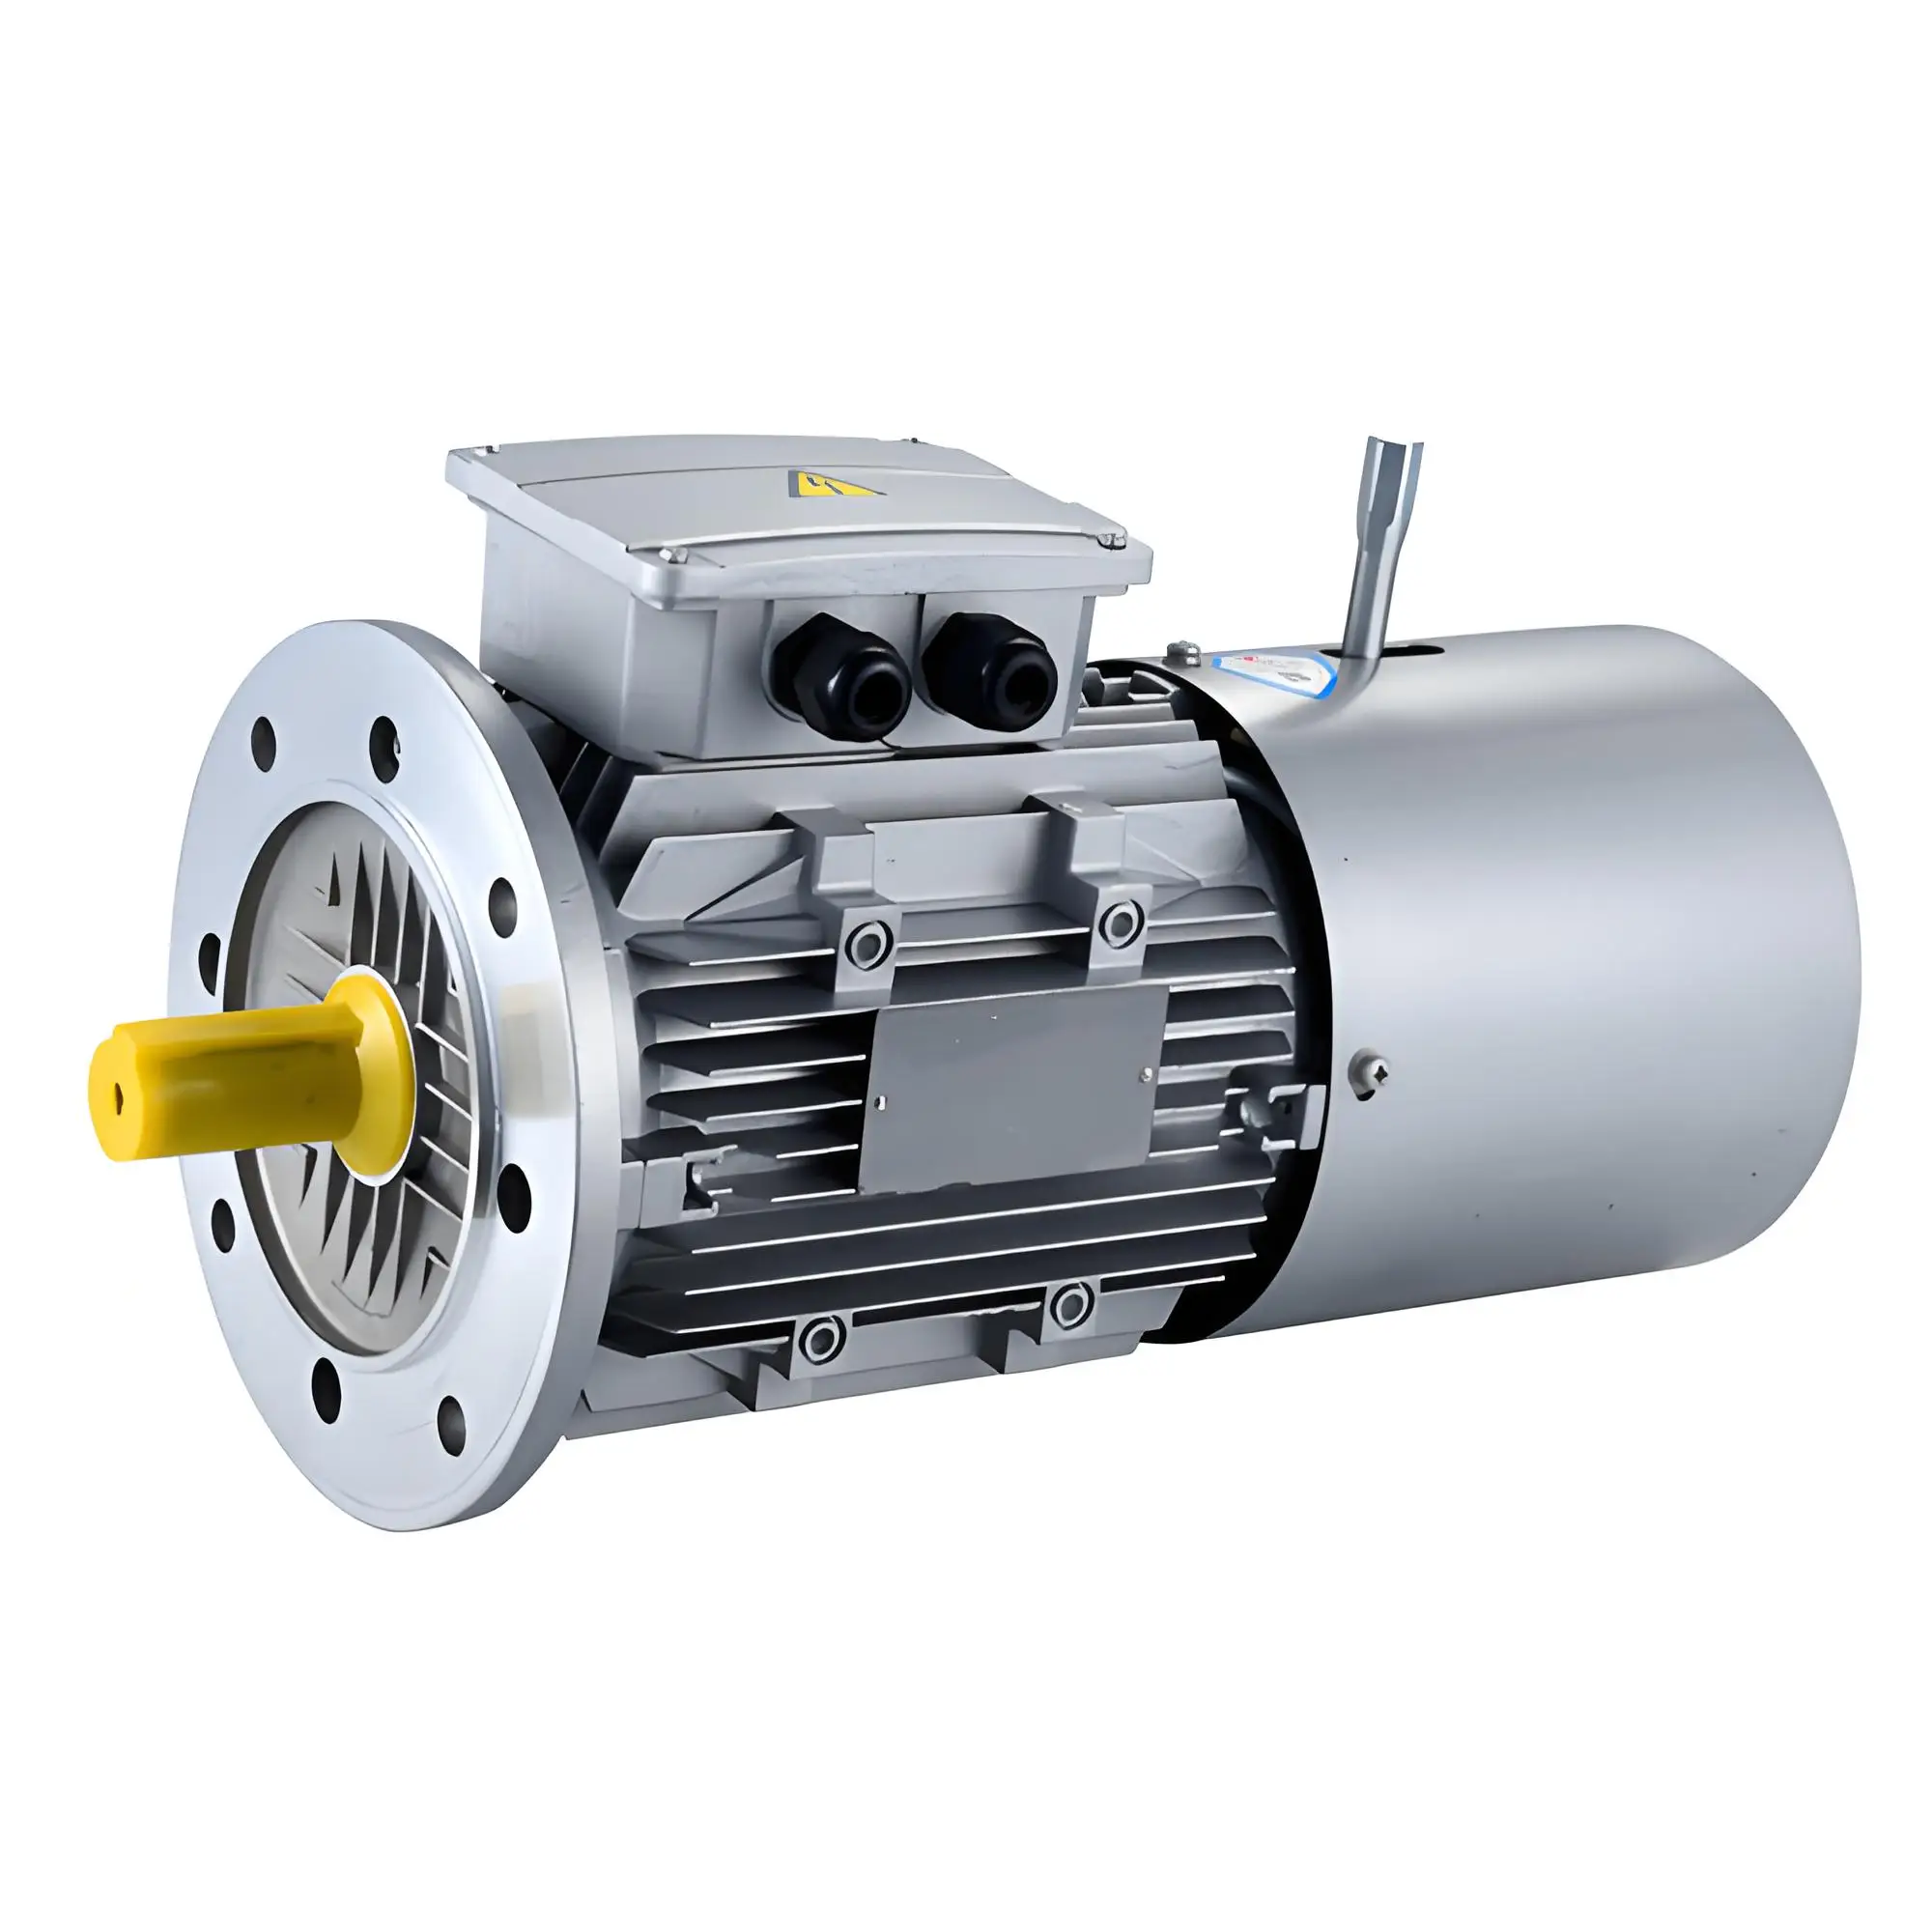
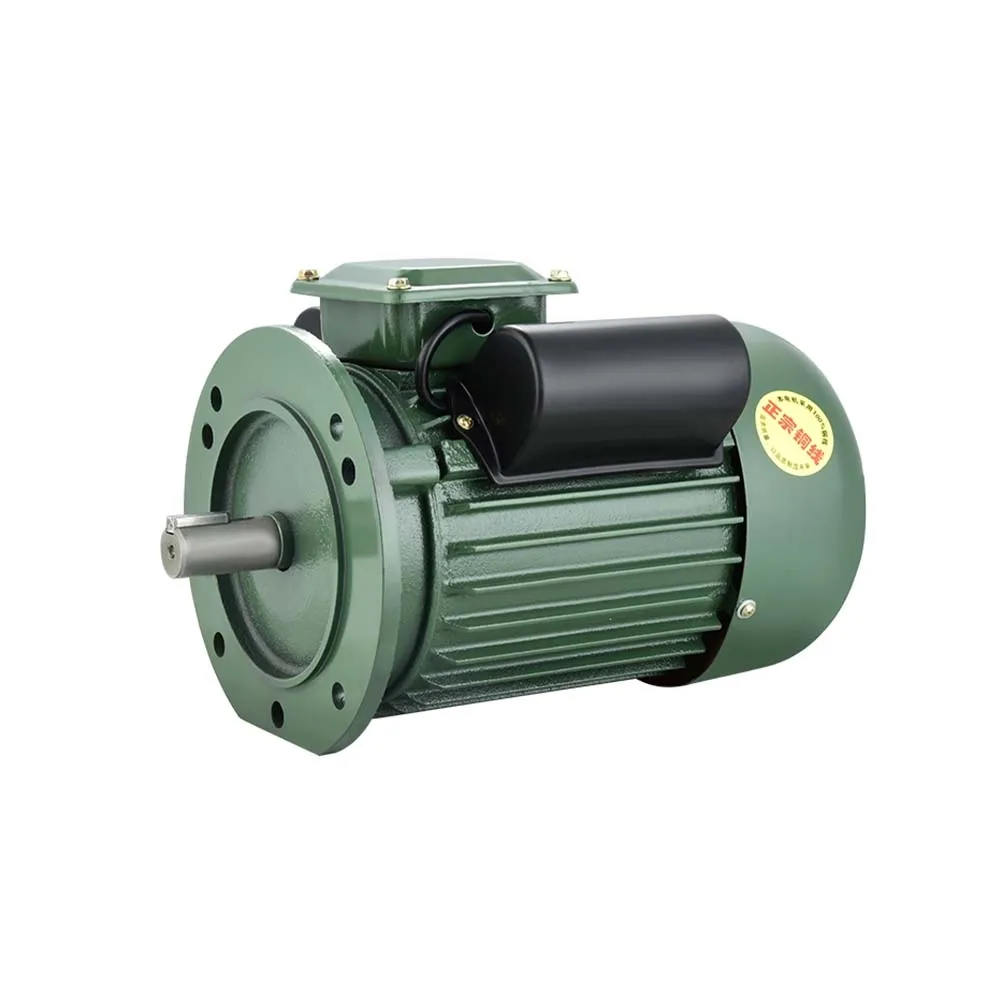
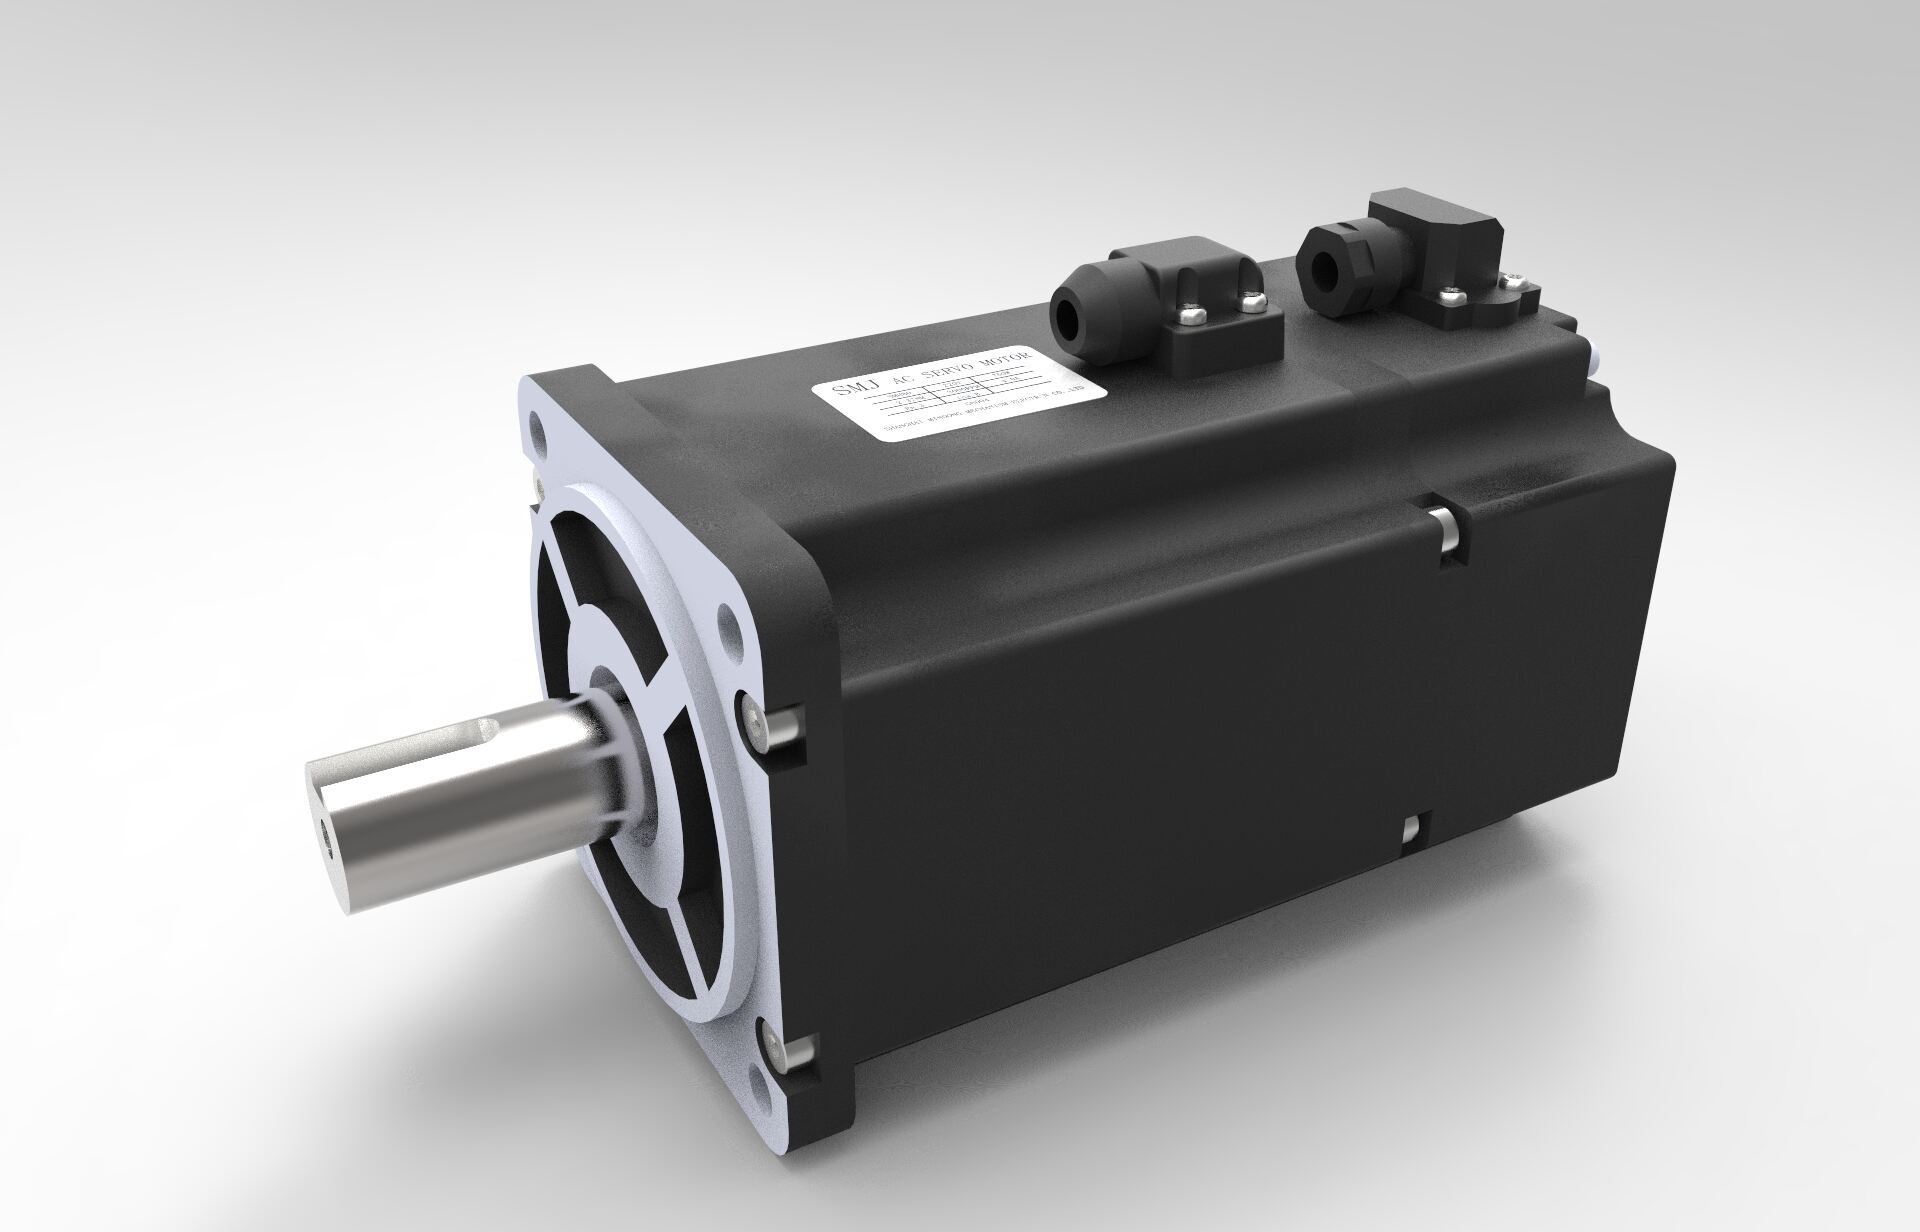
יישומים נפוצים כוללים רכב, עגלות גולף ומוצרי חשמל לבית, בהם דיוק וסימטריה הם קריטיים.
 חדשות חמות
זכויות יוצרים © 2025 על ידי Changwei Transmission (Jiangsu) Co., Ltd — מדיניות הפרטיות